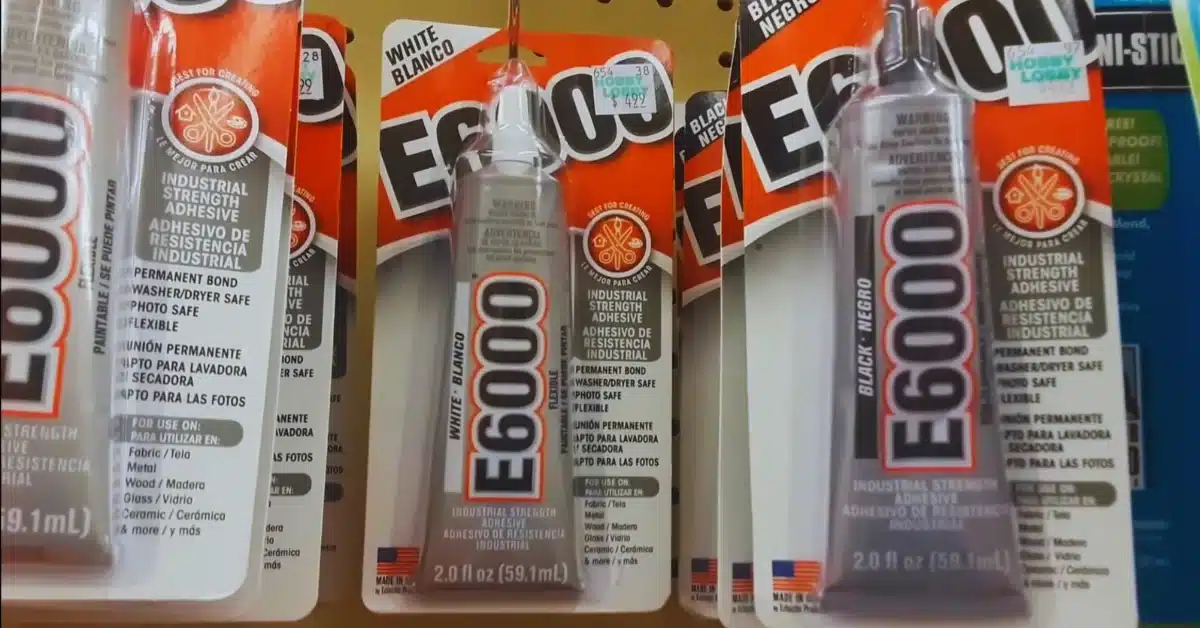
E6000 typically develops surface dryness within 5-10 minutes, becoming tacky. The full curing process takes 24-72 hours for maximum strength. But how to make E6000 glue dry faster?
You’re not alone if you’ve been impatiently waiting for glue to dry before continuing your project.
In this article, I’ll share some clever tricks and techniques to accelerate the drying time of E6000 glue, a popular adhesive known for its strength and versatility.
Whether you’re a crafting fanatic or a DIY hobbyist, these tips will be helpful. Let’s dive in and learn how to make E6000 glue dry faster!
Read More: How to Use E6000 Glue on Fabric?
How To Make E6000 Glue Dry Faster?
The Power of Temperature
One effective way to expedite the drying process of E6000 glue is by utilizing temperature.
The glue tends to dry faster in warm conditions. If you’re working in a chilly environment, consider placing your project near a heater or using a hairdryer on low heat to warm the glued area gently.
Remember to avoid high temperatures, as they might weaken the adhesive bond.
Thin Layers, Swift Drying
When it comes to gluing, the thickness of the adhesive layer can significantly impact the drying time.
Applying thin layers of E6000 glue allows it to dry faster than thick, globby applications.
Moreover, thin layers tend to create stronger bonds, enhancing the overall effectiveness of your project.
Ventilation Matters
Proper ventilation is vital when working with E6000 glue. Good airflow helps to speed up the drying process by allowing solvents to evaporate quickly.
Ensure your workspace is well-ventilated by opening windows or using a fan to disperse fumes and aid in faster drying.
Humidity Woes
High humidity levels can slow down the drying time of E6000 glue. Excessive moisture in the air can interfere with the glue’s curing process, making it take longer to set.
If you’re working in a humid environment, consider using a dehumidifier or a moisture-absorbing product to create an optimal drying atmosphere.
Bonding Non-Porous Material
When bonding non-porous materials like metal or glass with E6000 glue, you can employ a simple but effective technique to speed up drying.
Before applying the glue, clean the surfaces thoroughly with alcohol or acetone. This removes any residue that could hinder adhesion and promotes faster drying.
Read More: E6000 Glue Not Working
Pressure and Clamp Technique
Applying pressure to the glued surfaces can significantly improve drying time and bond strength.
Once you’ve joined the materials with E6000 glue, use clamps or heavy objects to hold them in place firmly.
This compression expels excess air and enhances the glue’s contact with the surfaces, leading to quicker drying.
Pre-Assembly Preparation
Before using E6000 glue, preparing the materials for assembly is crucial. Roughening the surfaces slightly with sandpaper provides a better grip for the adhesive, allowing it to dry faster and form a more secure bond.
Ideal Conditions for E6000 Glue
Creating the perfect environment for E6000 glue to dry quickly involves many factors.
To recap, try to work in a warm and well-ventilated space with moderate humidity levels.
Remember to apply thin, even layers of glue and ensure that the surfaces are clean and prepped for bonding.
Avoid High-Moisture Areas
When choosing the location for your project, it’s essential to avoid high-moisture areas such as bathrooms or kitchens.
These spaces are more likely to have humid air, which can hinder the glue’s drying process and affect the quality of the bond.
Expedite with Heat Gun
If you’re in a hurry and need the E6000 glue to dry even faster, you can use a heat gun (on low settings) to blow hot air directly onto the glued area.
This method accelerates the solvent evaporation process, resulting in quicker drying times. However, exercise caution to avoid overheating the glue.
E6000 Quick Dry Accelerator
Commercial products, such as the “E6000 Quick Dry Accelerator,” are available to expedite the drying time of E6000 glue.
This accelerator spray can be applied to the glued area, promoting rapid curing. Remember to follow the manufacturer’s instructions for best results.
Read More: How To Open E6000 Glue?
The Freezer Technique
A rather unconventional but surprisingly effective technique involves using a freezer to speed up the drying of E6000 glue.
After gluing the materials together, place them in a sealed plastic bag and put them in the freezer for a couple of hours.
The cold temperature enhances the glue’s curing process, reducing the drying time.
Additives and Fillers
Some crafters have experimented with adding small amounts of additives or fillers to E6000 glue to accelerate drying. However, it’s essential to approach this method cautiously, as adding foreign substances might compromise the glue’s strength and adhesion.
Accelerating E6000 on Porous Materials
When working with porous materials like fabric or wood, you can speed up the drying time of E6000 glue by applying heat with an iron.
Set the iron to a low heat setting, place a cloth over the glued area, and gently press with the iron. The heat aids in faster drying while protecting the material.
Read More: Hot Glue Vs. E6000
Setting Time vs. Full Cure
Remember that E6000 glue may have a relatively quick setting time, but achieving its full cure can take up to 72 hours or more.
While you can make it dry faster, allowing sufficient time for the adhesive to reach its maximum strength and durability is essential.
Testing and Patience
Before subjecting your project to stress or heavy use, testing the bond’s strength is advisable. Perform a small-scale test to ensure the glue has fully cured and achieved the desired durability.
When working with adhesives, patience is key, as rushing might compromise the final results.
Last Opinion
Congratulations! You’ve now learned a plethora of tips and techniques on how to make E6000 glue dry faster.
You have various options to suit your needs, from utilizing temperature and ventilation to employing clamps and quick dry accelerators.
Always consider the materials you’re bonding and the specific project requirements.
Remember, patience is crucial in achieving strong and durable bonds. Now go forth with your newfound knowledge and confidently conquer your crafting and DIY projects using E6000 glue! Happy gluing!

