Gorilla construction adhesive can be tricky, especially if you’re unfamiliar with this type of construction adhesive or its typical uses.
Fortunately, the following how-to guide will walk you through everything you need to know about using gorilla construction adhesive for optimum results.
With these tips and techniques in mind, you’ll find that you can use gorilla construction adhesive on just about any material, from concrete to brick surfaces, with dependable and long-lasting results.
Read More: Best Subfloor Adhesive
Read More: How To Remove Construction Adhesive From Concrete?
What is Gorilla Glue?
Gorilla Glue is an adhesive that can be used on various surfaces, including wood, metal, ceramic, and more. It’s known for its stronghold and waterproof properties, making it a popular choice for indoor and outdoor projects.
The Benefits of Gorilla Glue
Gorilla Glue is known for its strong holding power, making it a popular choice for construction and repair projects. The glue is weather-resistant and can be used on a variety of materials, both indoors and out.
Gorilla Glue will create an incredibly strong bond yet still flexible bond, making it ideal for applications where a little give is needed.
It can be used on wood, metal, glass, ceramic, stone, brick, and more. Plus, it’s easy to use – apply the glue to one surface and press the two pieces together.
How to Use Gorilla Construction Adhesive for Strong Holds?
Use the following steps to ensure that your next project sticks together (pun intended) without fail!
Step 1: Clean and Free of Dirt
If you’re trying to adhere two surfaces together, both surfaces must be clean and free of dirt. Otherwise, the Gorilla Construction Adhesive won’t be able to create a stronghold. Use a damp cloth to wipe away any dust or debris to clean your surfaces. If there are any stubborn spots, you can use a mild cleanser. Make sure the surface is completely dry before moving on to the next step.
Step 2: Preparing The Adhesive
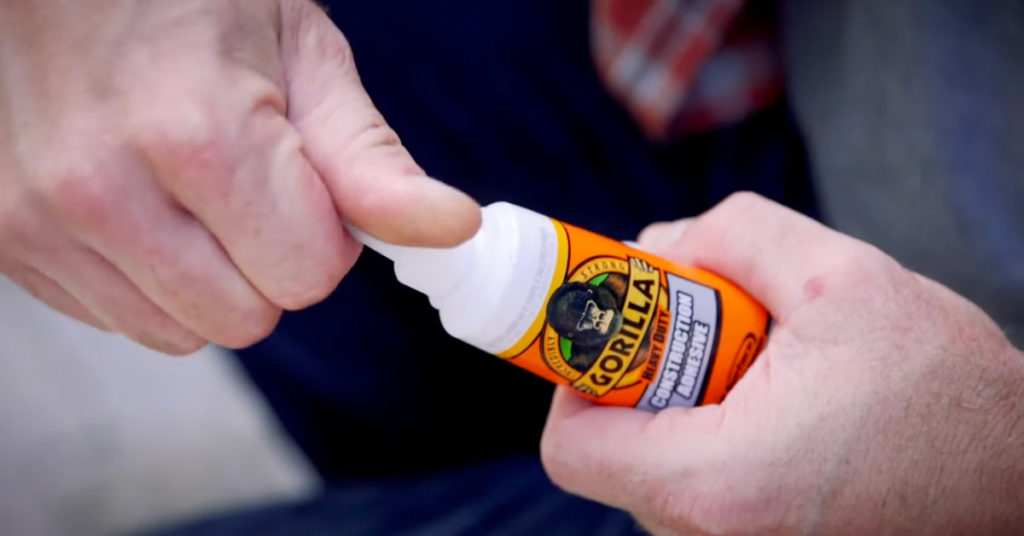
To use the cartridge unit, start by unscrewing the nozzle and cutting the tip of the cartridge. Next, replace the nozzle and cut it to the desired size.
For the tube, unscrew the cap from the tube of the brick adhesive. Next, fold the screw on the nozzle so that it’s pointing upward. This will make it easier to cut the desired bead size.
To cut the bead size, twist the nozzle until it’s pointing in the direction you want to cut.
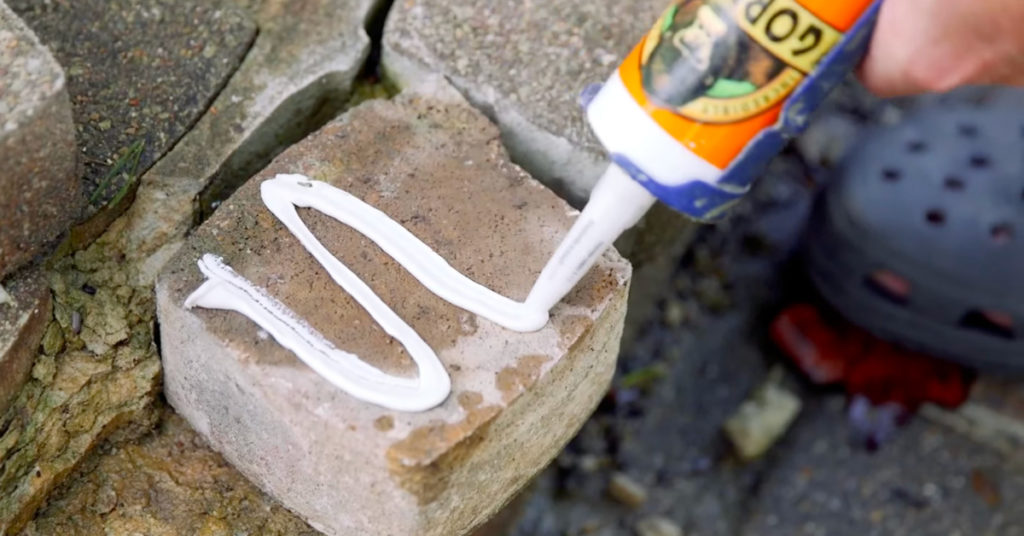
Step 3: Apply The Adhesive
Start in one corner and apply the adhesive in a zigzag pattern across the surface. Make sure to cover the entire surface with adhesive evenly.
If you’re working with a large area, it’s best to use a paint roller for even coverage. Apply pressure to the roller to ensure the adhesive bonds properly.
Read More: Best Construction Adhesive For Concrete
Step 4: Surfaces Together And Hold
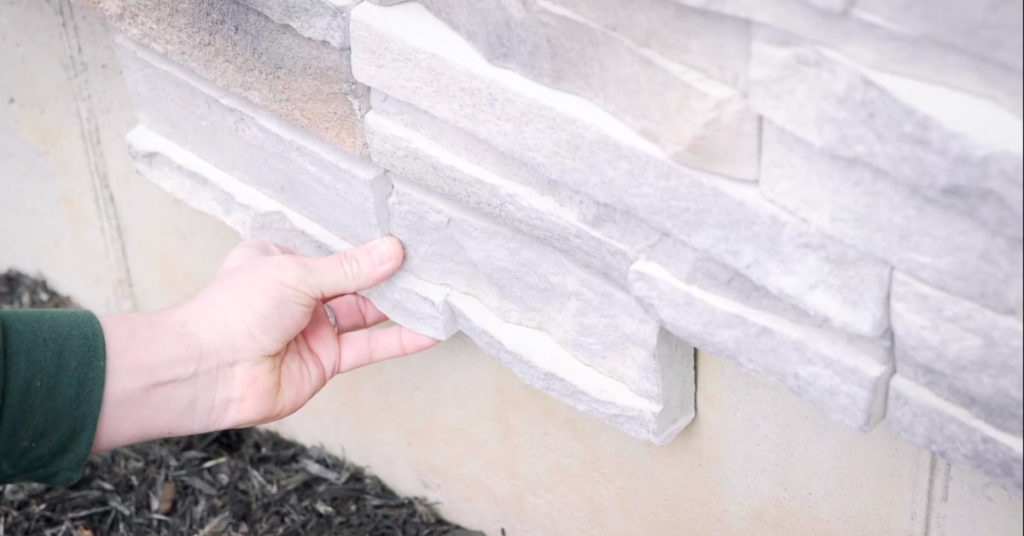
Now that you’ve applied the adhesive, it’s time to attach your surfaces. Make sure they’re lined up the way you want them before you start pressing them together.
Once they’re in contact, hold them there for 20 to 60 seconds to give the adhesive time to set. If you’re working with heavy materials, you may need clamps or weights to keep them in place while the adhesive dries.
Step 5: Cleanup
Be sure to clean up any wet glue as you go, or it will harden and become difficult to remove. Wet glue can be wiped away with a damp cloth or paper towel.
If the glue has already dried, you may need to use a putty knife or sandpaper to remove it.
Read More: How To Glue Bricks Together?
How long does it take for gorilla construction adhesive to dry?
Gorilla construction adhesive is a great way to get a strong hold on your construction projects. It dries clear and sets in just 24 hours, so you can get back to work quickly. Plus, it’s weather-resistant and can be used indoors or outdoors.
How long does Gorilla construction adhesive take to hold?
Gorilla construction adhesive is a strong, fast-acting glue that can hold projects together in as little as 30 seconds. This product is great for those who need a quick hold without the hassle of screws or nails.
How strong is gorilla construction adhesive?
Gorilla construction adhesive is a strong product that can hold up to 846 lb. per square inch. This makes it ideal for use in many construction projects. However, it is important to follow the manufacturer’s instructions when using this product, as improper application can lead to subpar results.
Last Opinion
Construction adhesive is one of the most important tools in a contractor’s toolbox. Gorilla construction adhesive is a reliable product that can be used for various projects.
It is important to read the instructions on the label before using gorilla construction adhesive. Always test the adhesive on a small area before applying it to the project.

