Pressure-sensitive adhesive, or PSA, is one of the easiest ways to mount things like posters and flyers to walls, doors, windows, or even cars and trucks in public places.
However, applying this adhesive correctly takes some know-how and practice so that your items stay stuck where you want them and don’t fall off altogether! Read on to learn how to apply pressure-sensitive adhesive for the best results.
How to Apply Pressure Sensitive Adhesive?
Preparing Your Surfaces
Before applying pressure-sensitive adhesive, you’ll need to prep your surfaces—clean, smooth and dry all surfaces before applying any adhesive. Remove dirt from hard-to-reach places with a sponge or cloth dampened with water or isopropyl alcohol (use rubbing alcohol on glass or mirrors).
You may also want to sand down rough edges or seams with a fine-grit sandpaper. Avoid creating sharp ridges, peaks or depressions that could prevent an otherwise smooth adhesive application from adhering properly; these include unfinished wood seams and power tool impressions left behind in trim and flooring materials.
Sandpaper is ideal for removing such imperfections as it will not leave behind any surface material when used correctly. Once you’ve cleaned and sanded your surfaces, let them dry completely before applying adhesive.
Peel off the Release Liner
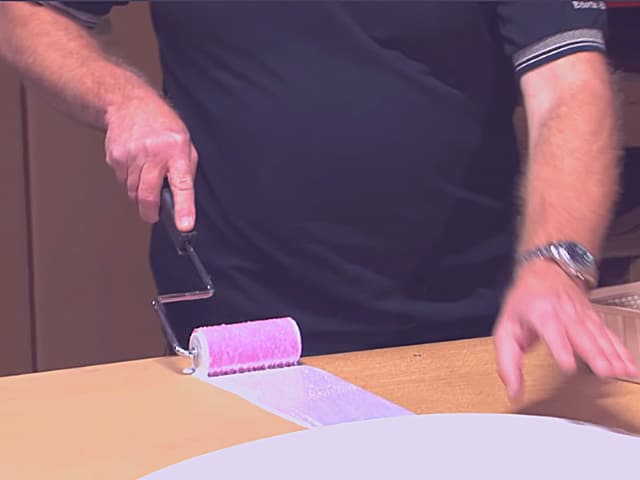
Before applying any pressure-sensitive adhesive, peel off the release liner. For best results, start at one end of your object and gently pull back the liner, so it’s sticking only to that edge of your surface.
Remember: a little bit of liner goes a long way.
Once you’ve removed all but an inch or two, let go and allow it to stick on its own as you progress along your adhesive’s surface area.
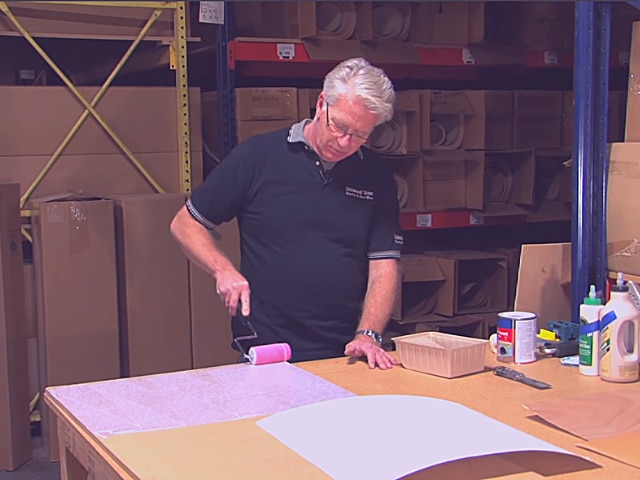
Arrange the Sheets in Order
Whether you’re working with a large number of sheets or small, it’s important to arrange them in order.
For example, if you have more than one sheet of paper that needs PSA applied, make sure you line them up side by side (don’t overlap). It might take some time, but it makes things easier down the road when placing and cutting them all out.
Another example is if you are gluing something down with multiple pieces. Assemble each piece before gluing it to save time and effort later on.
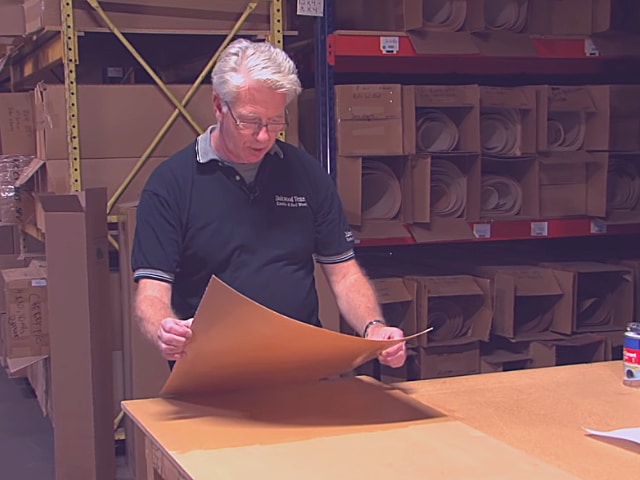
Starting in the Center of Your Design
To start in the center of your design, ensure a clean, flat surface free of oils and debris. Before laying down your first piece of vinyl, peel away a corner from it with one hand and press it on top of your substrate with your other hand.
Once you have laid down a few pieces and need to add another layer over them, do not remove a corner. Instead, peel back one side at an angle until it completely peels off; then, lay down your piece.
This will leave any leftover pieces from underneath, so they don’t end up sticking together when you remove all corners later in production.
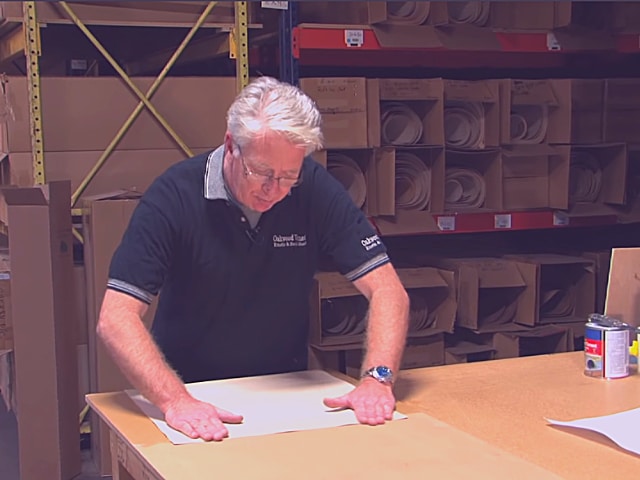
Let it Sit Overnight (Optional)
Applying pressure-sensitive adhesive can be a slow process, but you’ll increase your chances of success if you let each layer dry completely before applying another coat. Otherwise, you risk getting air bubbles in your finished product.
Also, don’t worry if there are still some lumps; they should disappear once your final layer dries. Just make sure you smooth everything out as best as possible before letting it sit overnight.
One tip: Try applying a light coat of primer first; that’s what we did when we applied our pressure-sensitive adhesive project and found it made everything easier!
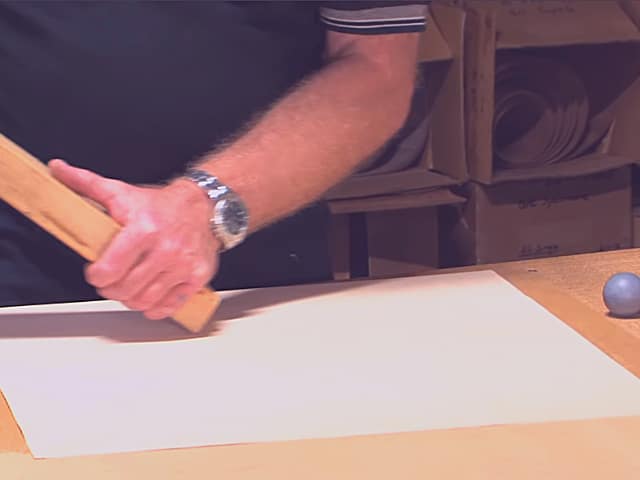
Removing Carefully
Pressing firmly will help ensure that you don’t damage anything around your sticker, but there’s a fine line between pressing and destroying. To get a piece of tape off of something carefully, try pulling it slowly at an angle—that way, you can ensure that it comes off cleanly and won’t leave any residue behind.
If you want to make sure your stickers are on firm surfaces only, some brands even sell transfer tape designed just for that purpose! Of course, making sure you have a clean surface is crucial before applying any sticker.
Read More: Types of Adhesives Used in Construction
How long does it take for the pressure-sensitive adhesive to dry?
It’s essential to consider drying time before you apply pressure-sensitive adhesive. Most pressure-sensitive adhesives take at least 8 to 24 hours to completely dry, so make sure you know how long they will need before you install anything on top of them. Some types can take even longer than a day—be sure to read instructions carefully and plan accordingly.
Where are pressure-sensitive adhesives used?
Pressure-sensitive adhesives are used in everyday items like labels, flexible packaging materials, and medical equipment. These adhesives are made up of two parts: an adhesive and a carrier. The carrier is what ultimately gets applied—the adhesive stays on a roll.
The adhesive sticks to the product during manufacturing. Once ready for use, it can be peeled off (see Tearing PSAs below). Pressure-sensitive adhesives can provide strong hold and durability over time when applied correctly.
Last Opinion
Making tape placement and removal a breeze is important because many businesses have high-quality displays that are constantly being swapped out or updated.
To make your life easier, look for pressure-sensitive adhesive (PSA) that doesn’t require pressure to activate. That way, you won’t waste time figuring out why your sign isn’t sticking.
Look for low-tack PSAs as well; if it takes too much effort to get them off, you won’t be able to swap out merchandise quickly or easily.
If you can avoid it, don’t use standard masking or scotch tape with PSA backing because they are hard to remove without damaging surfaces.

