A great way to make your home look more attractive and visually cohesive is by building brick walls that match the existing architecture, making it appear as if they’ve been there since the house was built or even longer.
However, if you don’t use the right adhesive to glue your bricks together, you might end up with a wall that starts crumbling before you finish it—not good!
Don’t risk having an unsightly, unsafe wall in your home; learn how to glue bricks together by following these steps from industry professionals today!
What Glue Holds Bricks Together?
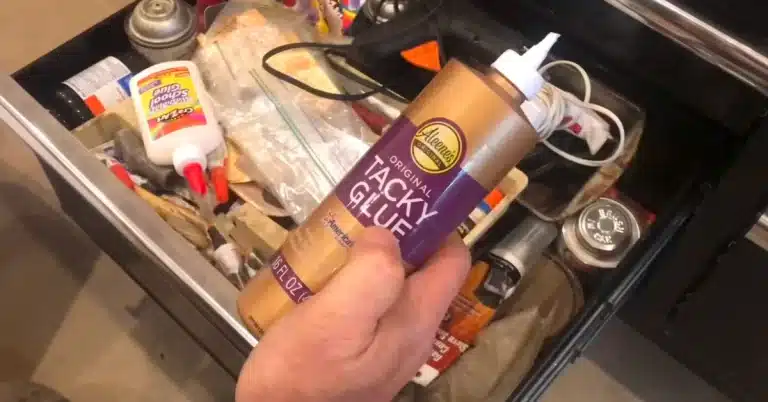
You’ll need to use a Construction Adhesive / Mortar to ensure your bricks are securely glued. Construction adhesive is a strong, durable glue that can hold up against heavy weight and pressure.
Plus, it’s weatherproof and won’t be affected by moisture or temperature changes. Mortar is made from a mixture of water and cement. It dries into a tough, waterproof material, perfect for adding strength to any surface- even those made of bricks!
How to Glue Bricks Together?
Step 1: Prepare the surface
The first step is to prepare the surface of the bricks you want to glue together. This means cleaning off the bricks’ dirt, debris, or dust. You can do this using a brush or a vacuum cleaner (Not Mandatory). Once the bricks are clean, you’ll need to roughen up their surfaces, so the adhesive can better adheres to them. To do this, you can use sandpaper or a wire brush.

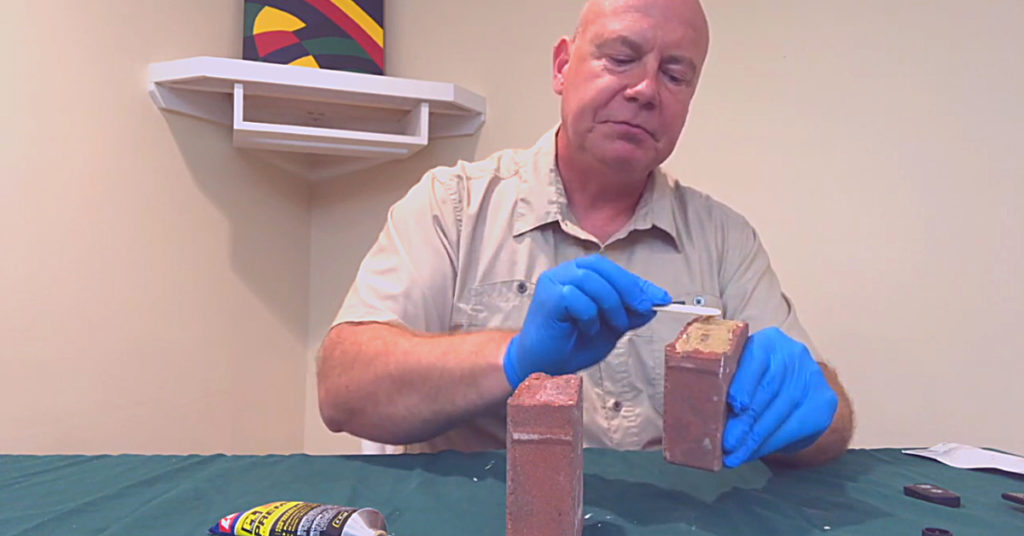
Step 2: Use Brick Adhesive
Use brick adhesive when gluing bricks together. It’s a water-based product that comes in a tub and is applied with a trowel. You’ll need to mix the masonry cement with water according to the directions on the tub. Once it’s mixed, use it to the surface of the bricks you’re bonding together.

Step 3: Clean Up
Use a damp cloth to remove any adhesive that has oozed out between the bricks. You don’t want this excess adhesive to harden, as it will be difficult to remove later. Once you’ve wiped away the excess, give the joints a few taps with a rubber mallet to help seat the bricks and secure them. Let the adhesive cure for the time specified on the product label before proceeding with construction.
Step 4: Let it cure overnight
You must let the adhesive cure overnight before continuing with your project. This will allow the adhesive to reach its full bonding strength. Gently pressing on the bond can check if the adhesive is cured. If it feels strong, then it is ready for the next step. If not, give it a few more hours to cure.
Step 5: Keep it wet for at least 48 hours
Once the adhesive has been applied, it’s important to keep the area wet for at least 48 hours. This can be done by misting the area with water or covering it with a damp cloth. Doing this will ensure that the adhesive has time to set and cure properly.
Step 6: Inspect the bond
Now that the adhesive has had time to set, it’s time to inspect your work. The bond between the bricks should be strong and secure. If you see any gaps or cracks, you can fill them in with more adhesive. You may also want to wipe away any excess glue with a damp cloth.
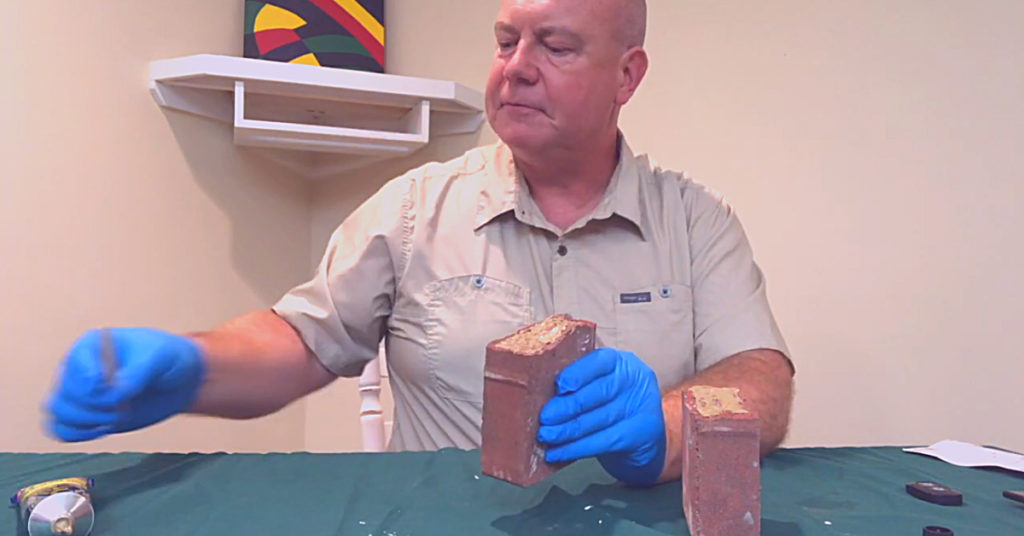
Can you glue a broken brick back together?
Broken bricks can be glued back together using a strong adhesive. The first step is to clean both brick surfaces that will be glued together. Next, apply the adhesive to one of the surfaces and then press the two surfaces together. Hold the surfaces together for a few minutes until the adhesive sets. You may need to use clamps or weights to keep the surfaces together while the adhesive dries. Once the adhesive is dry, your brick should be repaired.
What can I use to repair broken brick?
There are a few options available when it comes to repairing broken bricks. One is to use masonry adhesive, which is a strong bonding agent that can be used to glue the bricks back together. Another option is to use mortar, which is a type of cement that can be used to fill in gaps and cracks. You may need to replace the entire brick if the damage is extensive.
How do you fix separated bricks?
Fixing separated bricks is a simple process that anyone can do:
- You need to gather the necessary supplies. These include bricks, mortar, a trowel, and water.
- Mix the mortar and water together until it forms a paste.
- Apply the mortar to the bricks using the trowel. Be sure to spread it evenly between the cracks.
- Press the bricks firmly together and allow them to dry for 24 hours.
If the mortar does not set correctly, sand the area lightly before applying more mortar. You may also choose to putty any gaps or loose areas of the brick before applying new mortar. For example, run some putty over a brick before adding more cement if one side of the brick has come off. Allow 24 hours of drying time before removing any leftover putty with a damp cloth or sponge (be careful not to let any get on your clothes).
Last Opinion
Now that you know how to glue bricks together, you can get started on your next project! Remember that the type of adhesive you use will determine the strength of the bond, so be sure to choose the right one for your needs. And always test the adhesive on a small area before committing to using it on your entire project. With some practice, you’ll be a pro at gluing bricks together in no time!