Installing wall panels with adhesive can be tricky if you’re inexperienced, but this step-by-step guide will help you get the job done like a pro!
It takes time to get all the panels in place, but it’s time well spent. Once you’ve finished your installation, you won’t have to worry about peeling paint or cracking walls!
Here are the essential tips and strategies to follow when installing wall panels with adhesive.
Read More: Best Adhesive For Wall Panels
How To Install Wall Panels With Adhesive?
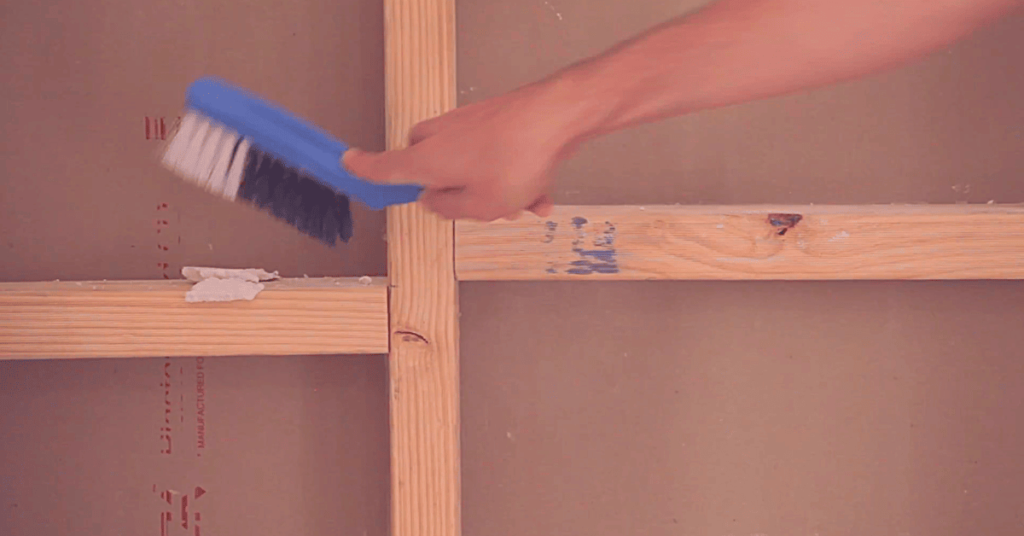
Step 1: Clean the walls
The first step to installing your wall panels is ensuring a clean surface. This means using a mild soap and water solution to remove dirt, dust or grease. If you have any old paint or wallpaper on the walls, you’ll need to remove that. Once the surface is clean and dry, you’re ready to move on to the next step.
Step 2: Cut the panels
Cut the panels using a straight edge and a sharp utility knife. Make sure to wear gloves and safety goggles when cutting the panels. Start by scoring the panel along the cut line. Then, apply pressure to snap the panel along the score line. Repeat this process for each panel.
Step 3: Use tape to create a straight line
If you want your wall paneling project to look professional, use tape to create a straight line before you start applying adhesive. This will help ensure that your panels are evenly spaced and level.
To do this, measure the space where you’ll install the panels and mark it with painter’s tape.
Then, use a level to make sure the tape is straight before you begin applying adhesive. You can also use a laser level if you have one on hand!
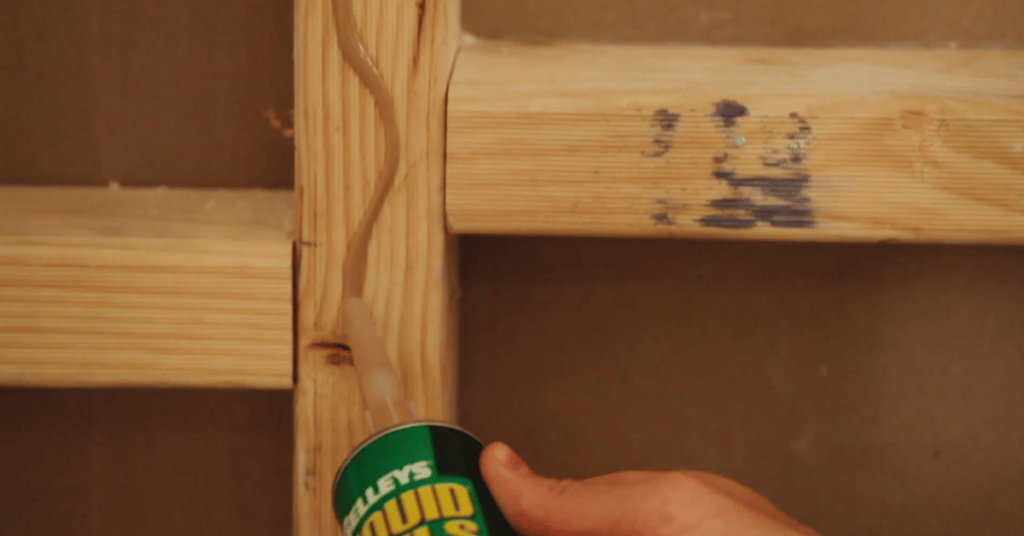
Step 4: Install the first panel
- Start in one corner of the room and unroll your first panel.
- Spread an even layer of adhesive on the back of the panel using a roller or brush.
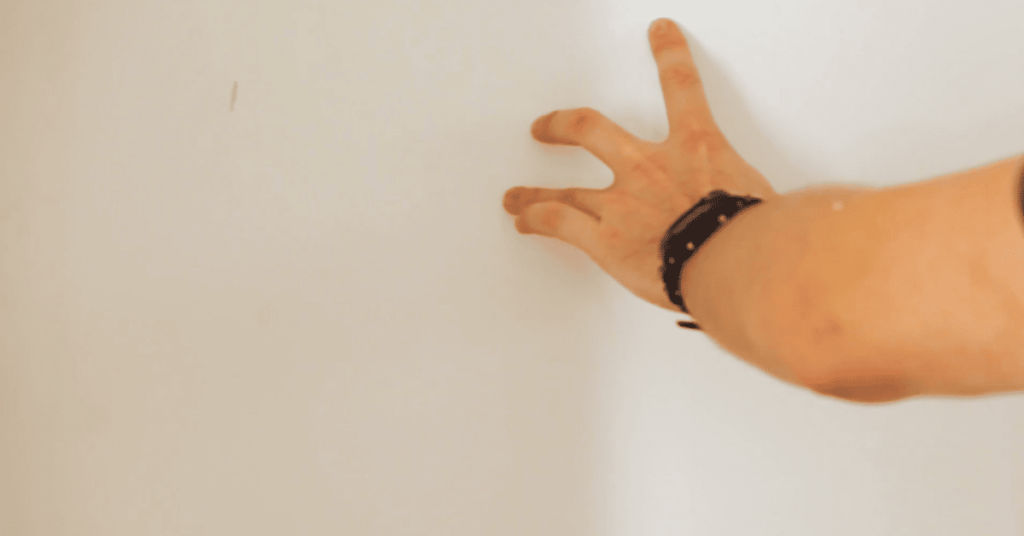
- Press the panel on the wall, starting at the top and working your way down.
- Use a level to ensure the panel is straight, then use a utility knife to trim any excess material from the edges.
- Repeat steps 2-4 for each additional panel until the entire wall is covered.
- Stand back and admire your handiwork! You did it!
- Now enjoy your new, stylish wall panels for years to come
Step 5 (Optional): If you are making repairs, paint over your seams
You’ve successfully installed your wall paneling using adhesive. To ensure your seams are extra secure, you can paint over them once the adhesive has dried. This will also help to make your repairs blend in with the rest of the wall. Here’s how:
- Make sure that the area you’re repairing is clean and dry. Any dirt or moisture will prevent the paint from adhering correctly.
- Choose a paint color that closely matches the color of your wall paneling.
- Apply painter’s tape to any areas that you don’t want to get paint on.
- Use a brush or roller to apply the paint evenly over the seams.
- Allow the paint to dry completely before removing the tape.
Do you need adhesive for wall panels?
No, you can install wall panels without adhesive. It is recommended that you use adhesive for better installation and insulation.
What glue do you use for wall panels?
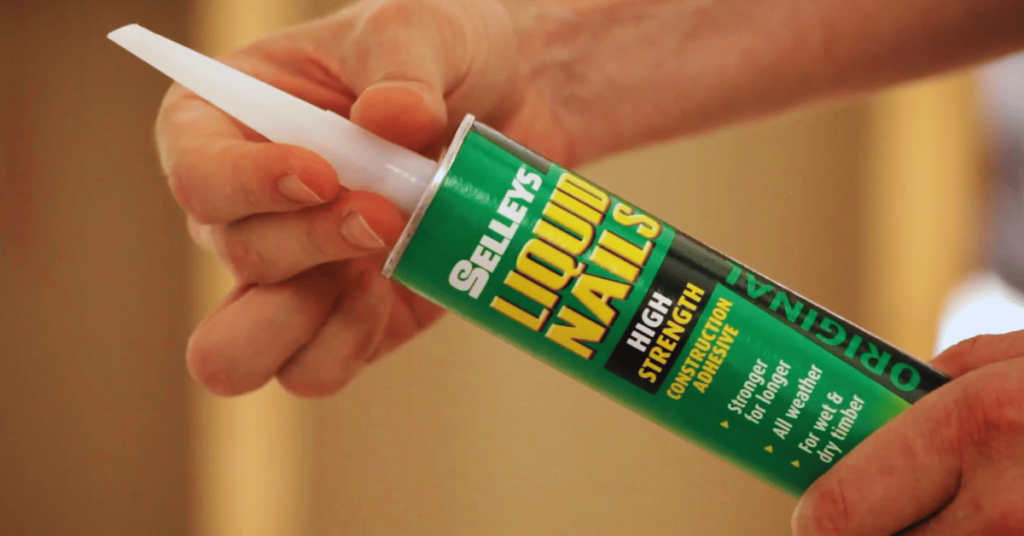
Adhesive is one of the most important aspects of installing wall panels. You need to make sure you use the right adhesive, or else your panels could fall off the wall. I recommend using a liquid nail adhesive for best results.
How do you fit wall panels?
You’ll need a few tools to get started, including a tape measure, level, straight edge, utility knife, and adhesive.
Depending on the size of your project, you may also want to rent an impact drill. Start by measuring the area you’ll be working on.
Then use the level and straight edge to draw lines where you’ll be making cuts. It’s important to ensure your cuts are straight so your panels will fit properly.
Use the utility knife to score along the lines you drew. This will make it easier to snap the panels when you cut them. Once you have all your panels cut, it’s time to start installing them.
Last Opinion
Installing wall panels with adhesive is not as difficult as it may seem. You can get the job done quickly and efficiently with some patience and the right tools. Just be sure to follow the instructions carefully and take your time. You’ll be a pro with a bit of practice in no time!