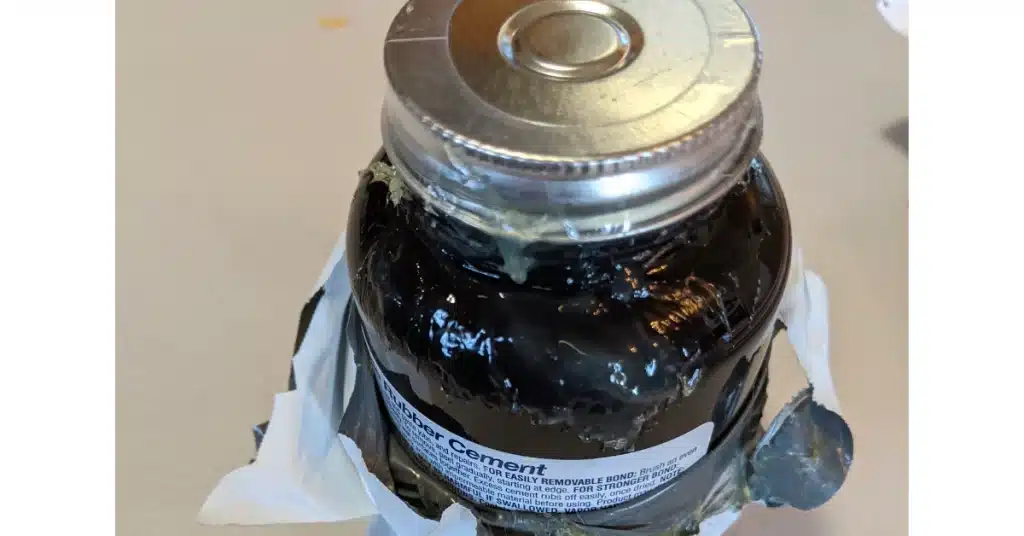
Rubber cement is a versatile adhesive made with atex polymers and acetone or other solvents. It is an extremely popular glue in the market because of its ease of use, adhesion capabilities, and other conveniences.
However, when it comes to “how to use rubber cement,” more often than not, you might get confused. As this glue has versatile uses, you might wonder how to use it on different surfaces for the best outcome.
To remove all your worries, I have talked about how to use rubber cement so that you know the process thoroughly and follow it for amazing results.
Read More: Contact Cement vs. Rubber Cement
Uses of Rubber Cement
Rubber cement is a versatile adhesive. It can be used on several different surfaces to stick them together. Some of the most common uses of this incredible glue include:
Arts And Crafts
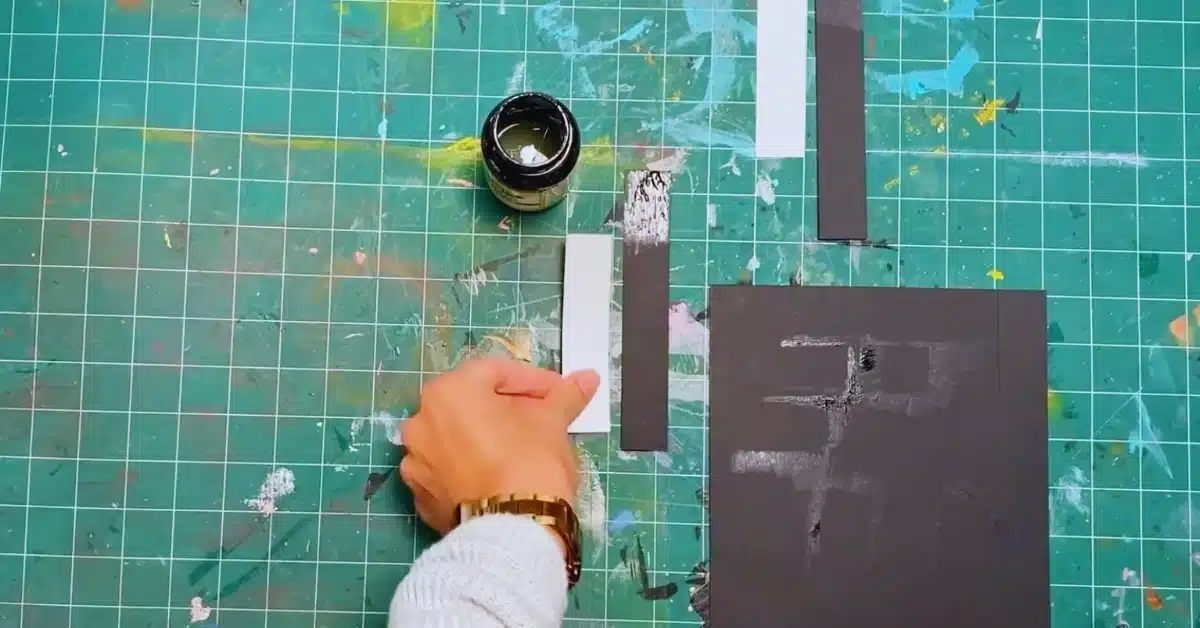
One most common uses of rubber cement is in DIY arts and crafts projects. As it provides a strong yet temporary bond, it is a perfect adhesive for paper and fabric crafting.
DIY Shoe Repair
Rubber cement is an excellent adhesive to repair your shoes. When you apply it evenly over cracks or holes in your shoes, this sealant not only repairs the surface but also acts as a moisture-resistant protectant.
You can also repair shoe soles with this adhesive. As it remains flexible even after drying, this glue is the perfect choice for your shoe repairs.
Fixing Punctured Tire Tube
Another common use of rubber cement is on punctured bike tubes. As it is a dry and flexible adhesive and has a thin layer of expandable rubber, it creates an amazing bond and holds the tube together perfectly.
How To Use Rubber Cement?
Here is a step-by-step guide on how to use rubber cement ideally. This will help you to use this adhesive without much difficulty.
Step 1: Preparation is Important
Rubber cement is a strong adhesive. And therefore, you need to prepare right before using it on any surface.
For starters, gather your materials first. Buy high-quality rubber cement to use on the surface. Even though rubber cement always comes with a brush, in some cases, it might not. Buy a suitable brush too.
Also, make sure that the surface you will put the glue on is clean and dry. Otherwise, the glue might not stick perfectly.
Step 2: Apply The Rubber Cement Correctly
Once you are done with the preparation, it’s time to apply the cement to the surface.
Start by shaking the rubber cement bottle a few times to ensure consistency. Then with the brush, apply a thin layer of the adhesive on the surface and smear it evenly.
Remember that with rubber cement, a little goes a long way, and therefore, don’t overdo it.
After smearing the cement, wait for a few minutes and allow the dry a bit. It will become a bit tacky after drying for a little while.
You can apply this cement on both surfaces you want to join.
Step 3: Bonding Matters
Once the rubber cement is a bit dried and tacky, press the surfaces you want to bond together. The tackiness will give them a better adhesion.
Make sure to align the surface properly before joining them. Otherwise, it might not only look bad but might not also stick properly.
Step 4: Let Dry
After you have joined the surfaces, let the rubber cement dry completely and form a strong bond. With proper curing, this adhesive will give a super stronghold.
Read More: Shoe Goo vs. Rubber Cement
Tips For Using Rubber Cement
- Avoid contact with skin and eyes. It might cause severe irritation. Don’t delay seeking medical attention if irritation persists.
- Ventilation is the key. Use rubber cement in a well-ventilated area. As it produces strong fumes, it might make you uncomfortable and dizzy.
- Always remember to reseal the bottle tightly after every use. This will prevent the cement from drying out.
- Read the label and instructions carefully. As all the information and instructions are given on the label, go through it for safety as well the best outcomes.
- Remember that rubber cement is flammable. And that’s why keep it away from open flames and heat to ensure safety.
Read More: How Long Does Rubber Cement Take to Dry?
Do you let rubber cement dry?
Yes, allowing rubber cement to dry is important for its proper adhesion. It needs time to set and create a strong bond.
What does rubber cement work best on?
Rubber cement is commonly used for bonding paper, photos, and lightweight materials. It’s great for craft projects, collages, and artwork due to its repositionable nature and non-wrinkling properties.
Last Opinion
Using rubber cement isn’t a messy or complicated process. And now that you know how to use rubber cement, I am sure that you will apply it in the right way on your required surfaces.
However, remember to follow the tips and safety measurements before trying out this glue. Otherwise, there are chances that you might not achieve the results you have been wanting.