For many homeowners, redoing their shower is a big job that needs to be done at some point.
Whether it’s to make the shower more accessible or to create more storage space, choosing how you want to redo your shower will come down to deciding what materials you want to use and how you want it put together.
For anyone who has chosen to redo their shower by gluing new tile onto the walls instead of removing the old tiles, this guide will walk you through the process step-by-step so that you can get it done right the first time around.
Read More: Best Thinset for Shower Walls
Consider Your Adhesive Options
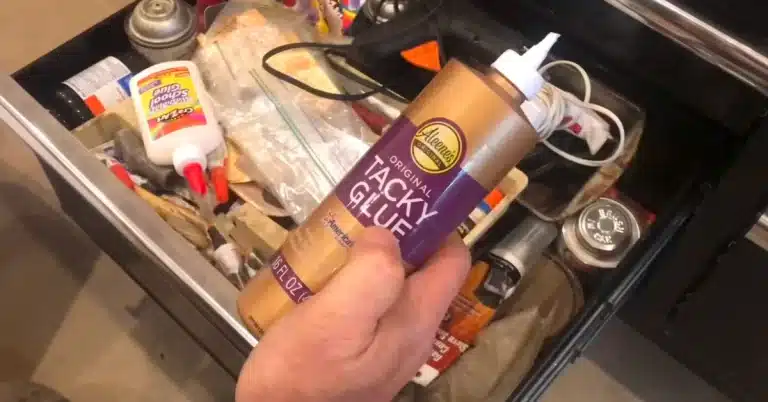
When it comes to gluing shower walls, there are a few different options you can choose from.
Epoxy is a popular choice as it forms a strong bond and can be used on various surfaces. Construction adhesive is another option, but it may not be as strong as epoxy.
I recommend Tub Surround Construction Adhesive. Ask a hardware store employee for advice if you’re unsure which one to use.
Read More: How to Remove Adhesive from Shower Wall?
How to Glue Shower Walls?
Clean the surface
The first step is to clean the surface of the shower wall. You will need a cleaner that is tough on soap scum and mildew. Use a sponge or cloth to wipe down the entire surface.
Pay special attention to areas that are especially dirty or have mold or mildew. Rinse the area with clean water and dry it completely.
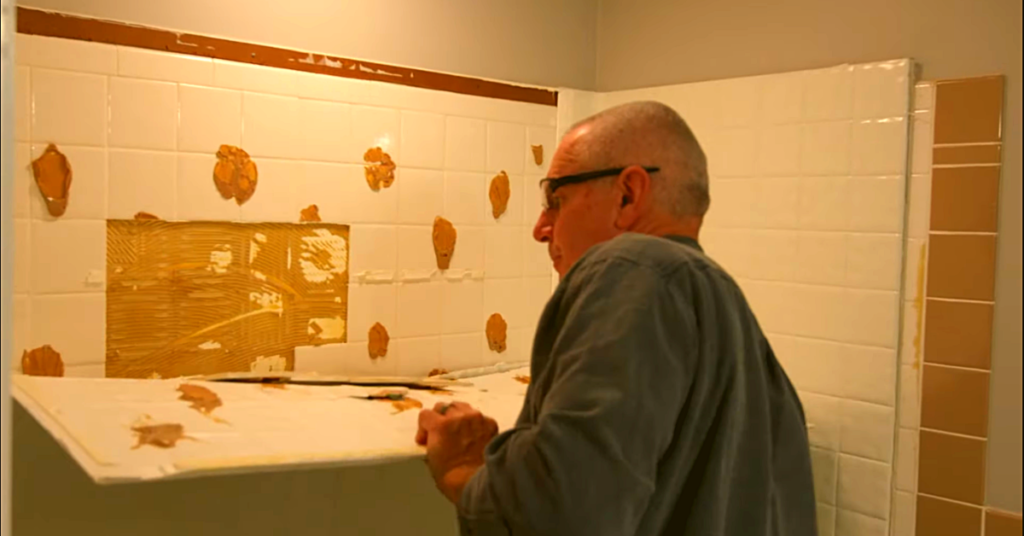
Apply the adhesive
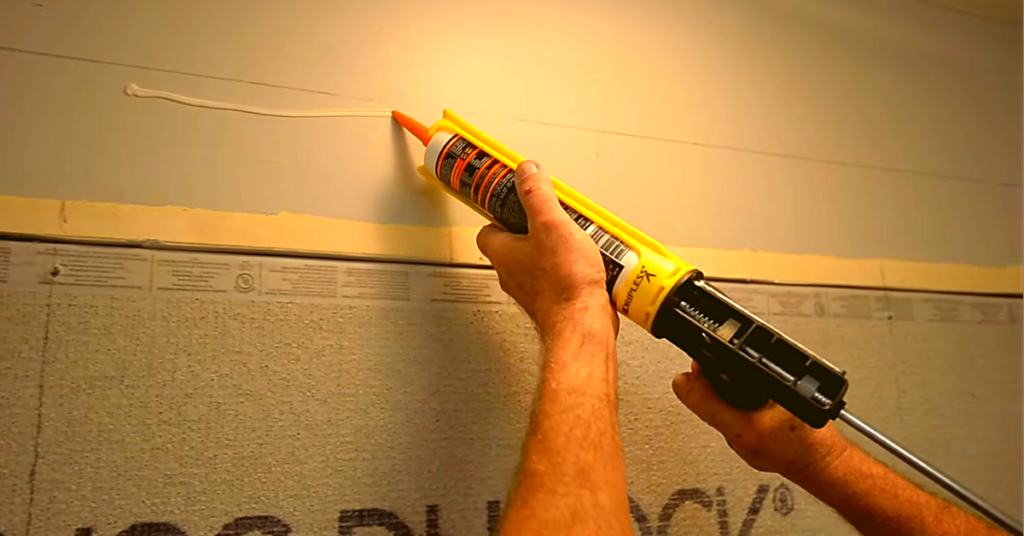
Before you can glue your shower walls, you need to apply the adhesive. To do this, you’ll need a putty knife and some caulk:
- Apply a bead of caulk around the perimeter of the shower.
- Use the putty knife to spread the caulk evenly over the surface of the shower.
- Apply a second bead of caulk around the outside edge of the shower.
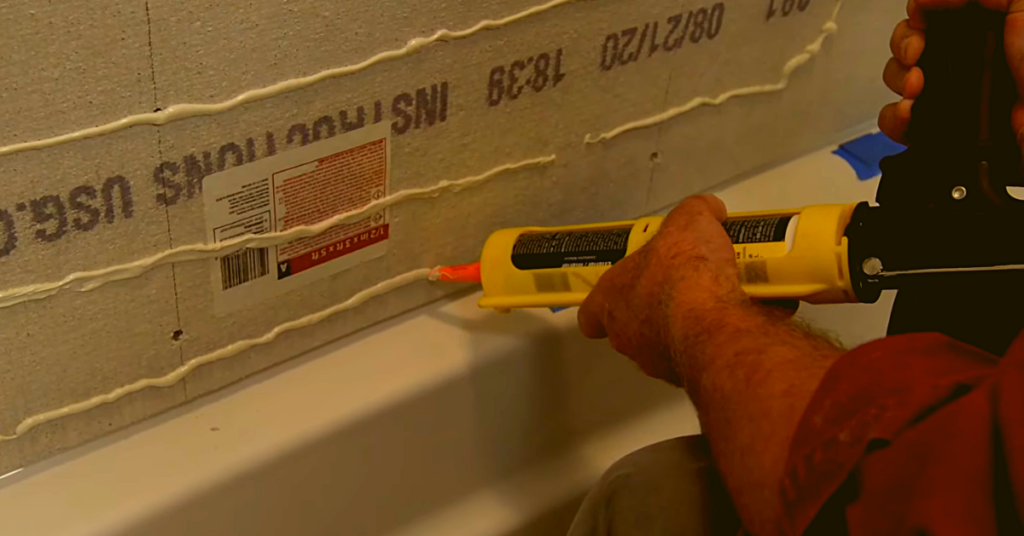
Work in small sections at a time, as you want to minimize the amount of time the caulk is exposed to water. Apply enough pressure on the putty knife to compress against both surfaces (shower wall and tub) for maximum adhesion.
Read More: Best Adhesive for Shower Walls
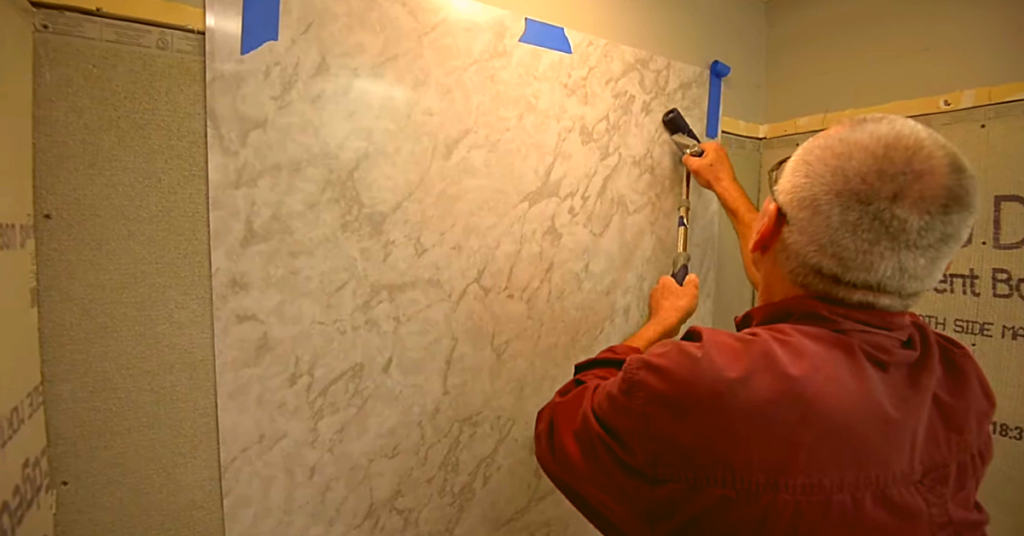
Position the new tile
Shower wall tiles are usually 8 x 8 or 6 x 6. If you’re using a new tile, position it on the wall so the top edge is level with the surrounding tile.
For example, if you’re tiling a 3′ x 5′ shower and using 8 x 8 tiles, you’ll need 18 tiles horizontally and 30 tiles vertically.
Make sure to allow for a 1/4 expansion gap between the new and surrounding tiles. After you set your tile in place, brush water onto the back of each tile (use a spray bottle or mister) and use your fingers to press each one into place.
You should have an even surface at this point. Once all the new tiles are in place, mix some grout according to package instructions (most require two parts powder grout to 1 part water). The consistency should be like wet sand.
Lightly press down on your tile
Using a level, lightly press down on your tile where you want to start. This will help prevent the tile from slipping while you’re trying to glue it. Apply a generous amount of adhesive to the back of the tile.
Starting at the top corner, press the tile into place and hold it for a few seconds. Continue adding tiles until you reach the bottom of the wall.
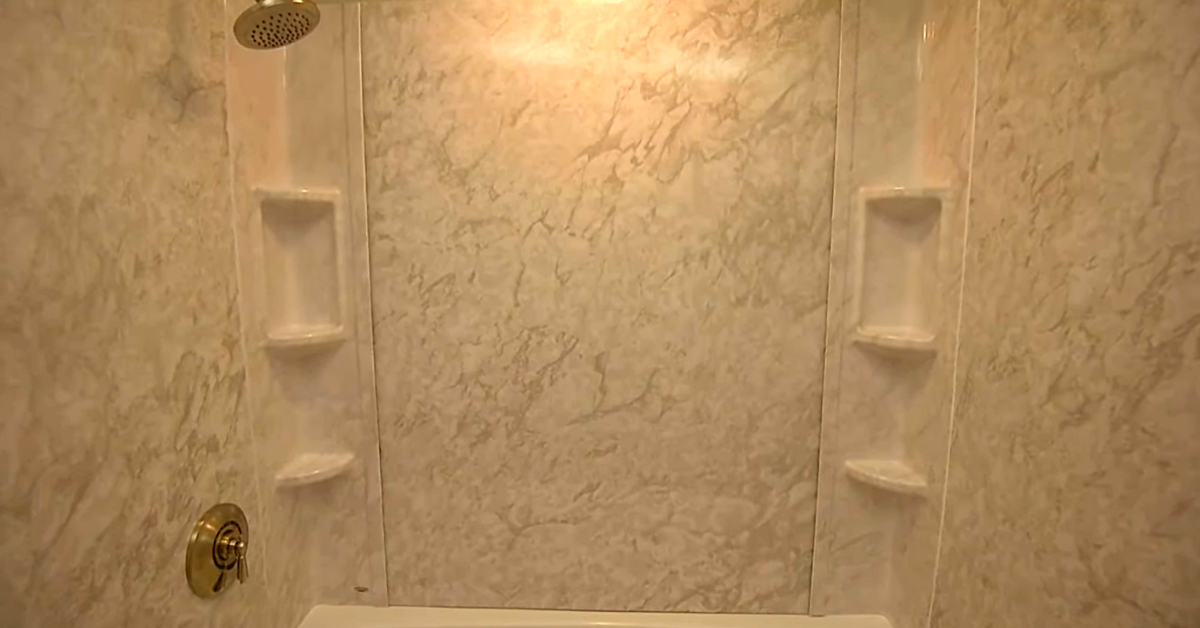
Leave it alone and let it dry overnight
Let the adhesive dry for at least 24 hours before using the shower. Fill in any cracks with a caulking gun, and then let it dry overnight.
Be sure to keep the area out of contact with water until you’ve finished all steps in this process!
Expert Tips on Applying Adhesive on Shower Walls
1. If your shower walls are made of ceramic, porcelain, or glass, you’ll need an adhesive specifically designed for those materials.
2. Clean the surface of the shower wall with rubbing alcohol before applying the adhesive. This will help the adhesive bond better.
3. Apply the adhesive to both the shower wall and the back of the tile using a notched trowel.
4. Press the tile and hold it there for a few seconds while the adhesive sets.
5. Use a level to ensure the tile is even with adjacent tiles.
6. Wipe away any excess adhesive with a damp cloth.
7. Let the adhesive dry for at least 24 hours before using the shower.
8. Apply grout as soon as possible, preferably within 48 hours of installing the tiles. Grouting helps keep dirt and other contaminants from seeping into the seams between tiles.
9. Choose grout colors that blend in with surrounding surfaces like your tub or toilet (for example, light gray grout would work well on white subway tile). Avoid picking colors that contrast too much with surrounding surfaces, like black grout on light-colored tiles, since this can be jarring when you step out of the shower.
10. Once you’ve applied enough grout to fill in all spaces between your new tiled surfaces, wait one hour before stepping foot in your newly glued shower!
Read More: How To Remove Self-Adhesive Shower Door Handles?
What adhesive do you use for shower walls?
If you’re looking for an adhesive that will hold up in the shower, you’ll want to use a waterproof silicone sealant. To apply the silicone sealant, use a caulk gun and run a bead of sealant along the joint where the two pieces of tile meet. Then, use your finger to smooth out the sealant. You’ll want to let the silicone cure for 24 hours before using the shower.
Can you use Liquid Nails on shower walls?
You can use Liquid Nails on shower walls, but there are a few things you need to keep in mind:
Make sure the surface is clean and dry.
Apply the adhesive in a thin, even layer.
Press the two surfaces together firmly.
Wait 24 hours for the adhesive to cure.
Caulk any gaps or seams.
Apply grout as needed.
Enjoy your new shower!
Can you glue shower panels to drywall?
Shower panels are a great way to update the look of your bathroom without breaking the bank. But they can be a pain to install if you’re not careful. Here’s a step-by-step guide to gluing shower panels to drywall to avoid headaches down the road.
Last Opinion
Shower walls are a great way to add style and function to your bathroom. But if you’re not careful, they can also be a source of leaks and water damage. That’s why it’s essential to properly glue shower walls.